The currency converter example
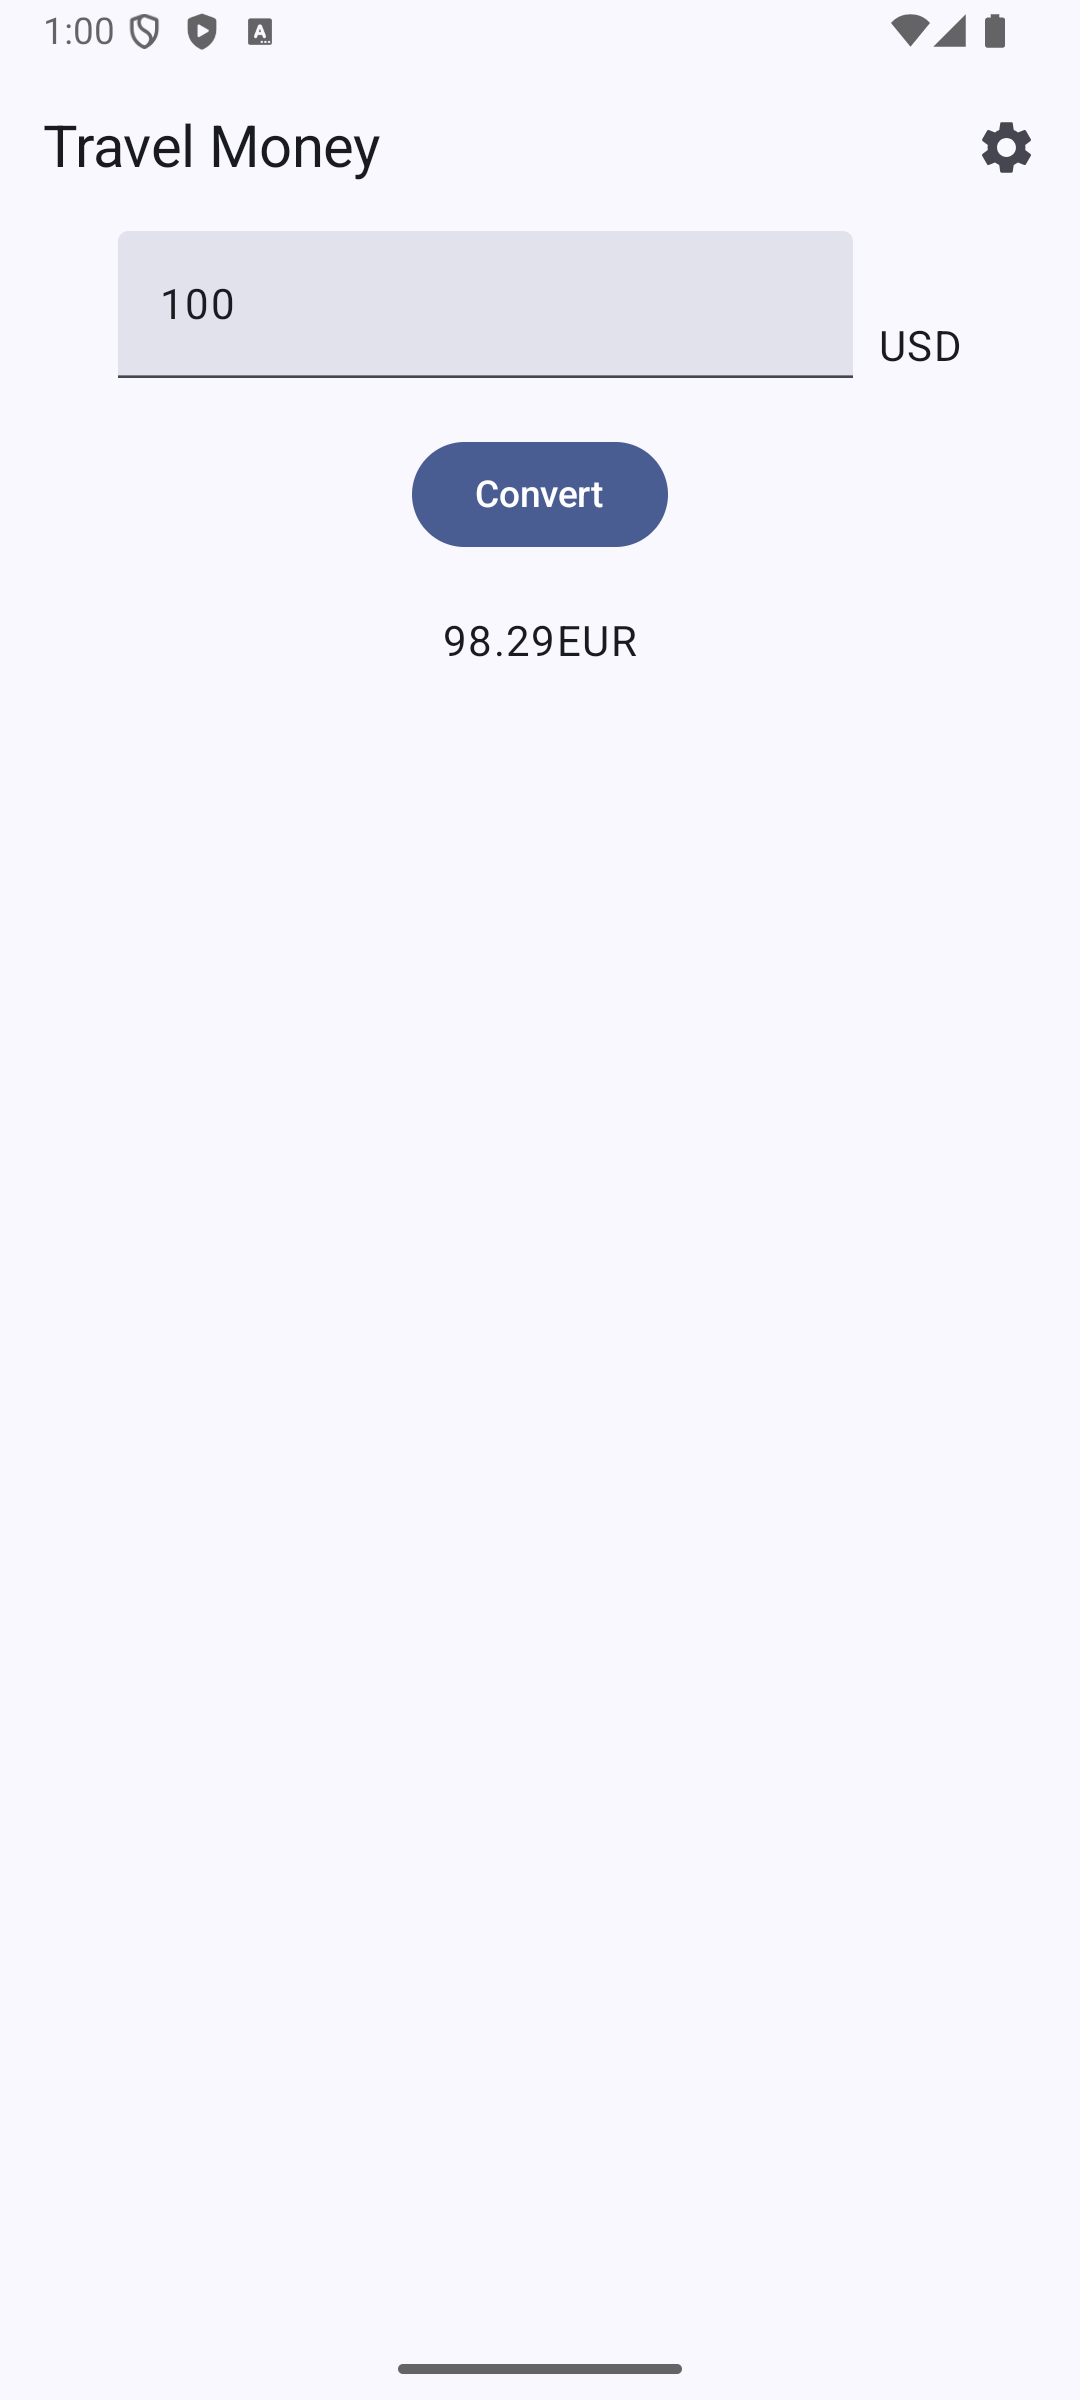
Our next example is the currency conversion app. This is our first Jetpack compose app with two views, so we will be looking at the mechanisms needed to navigate between views in a Jetpack Compose app. The first view displays a currency conversion calculator:
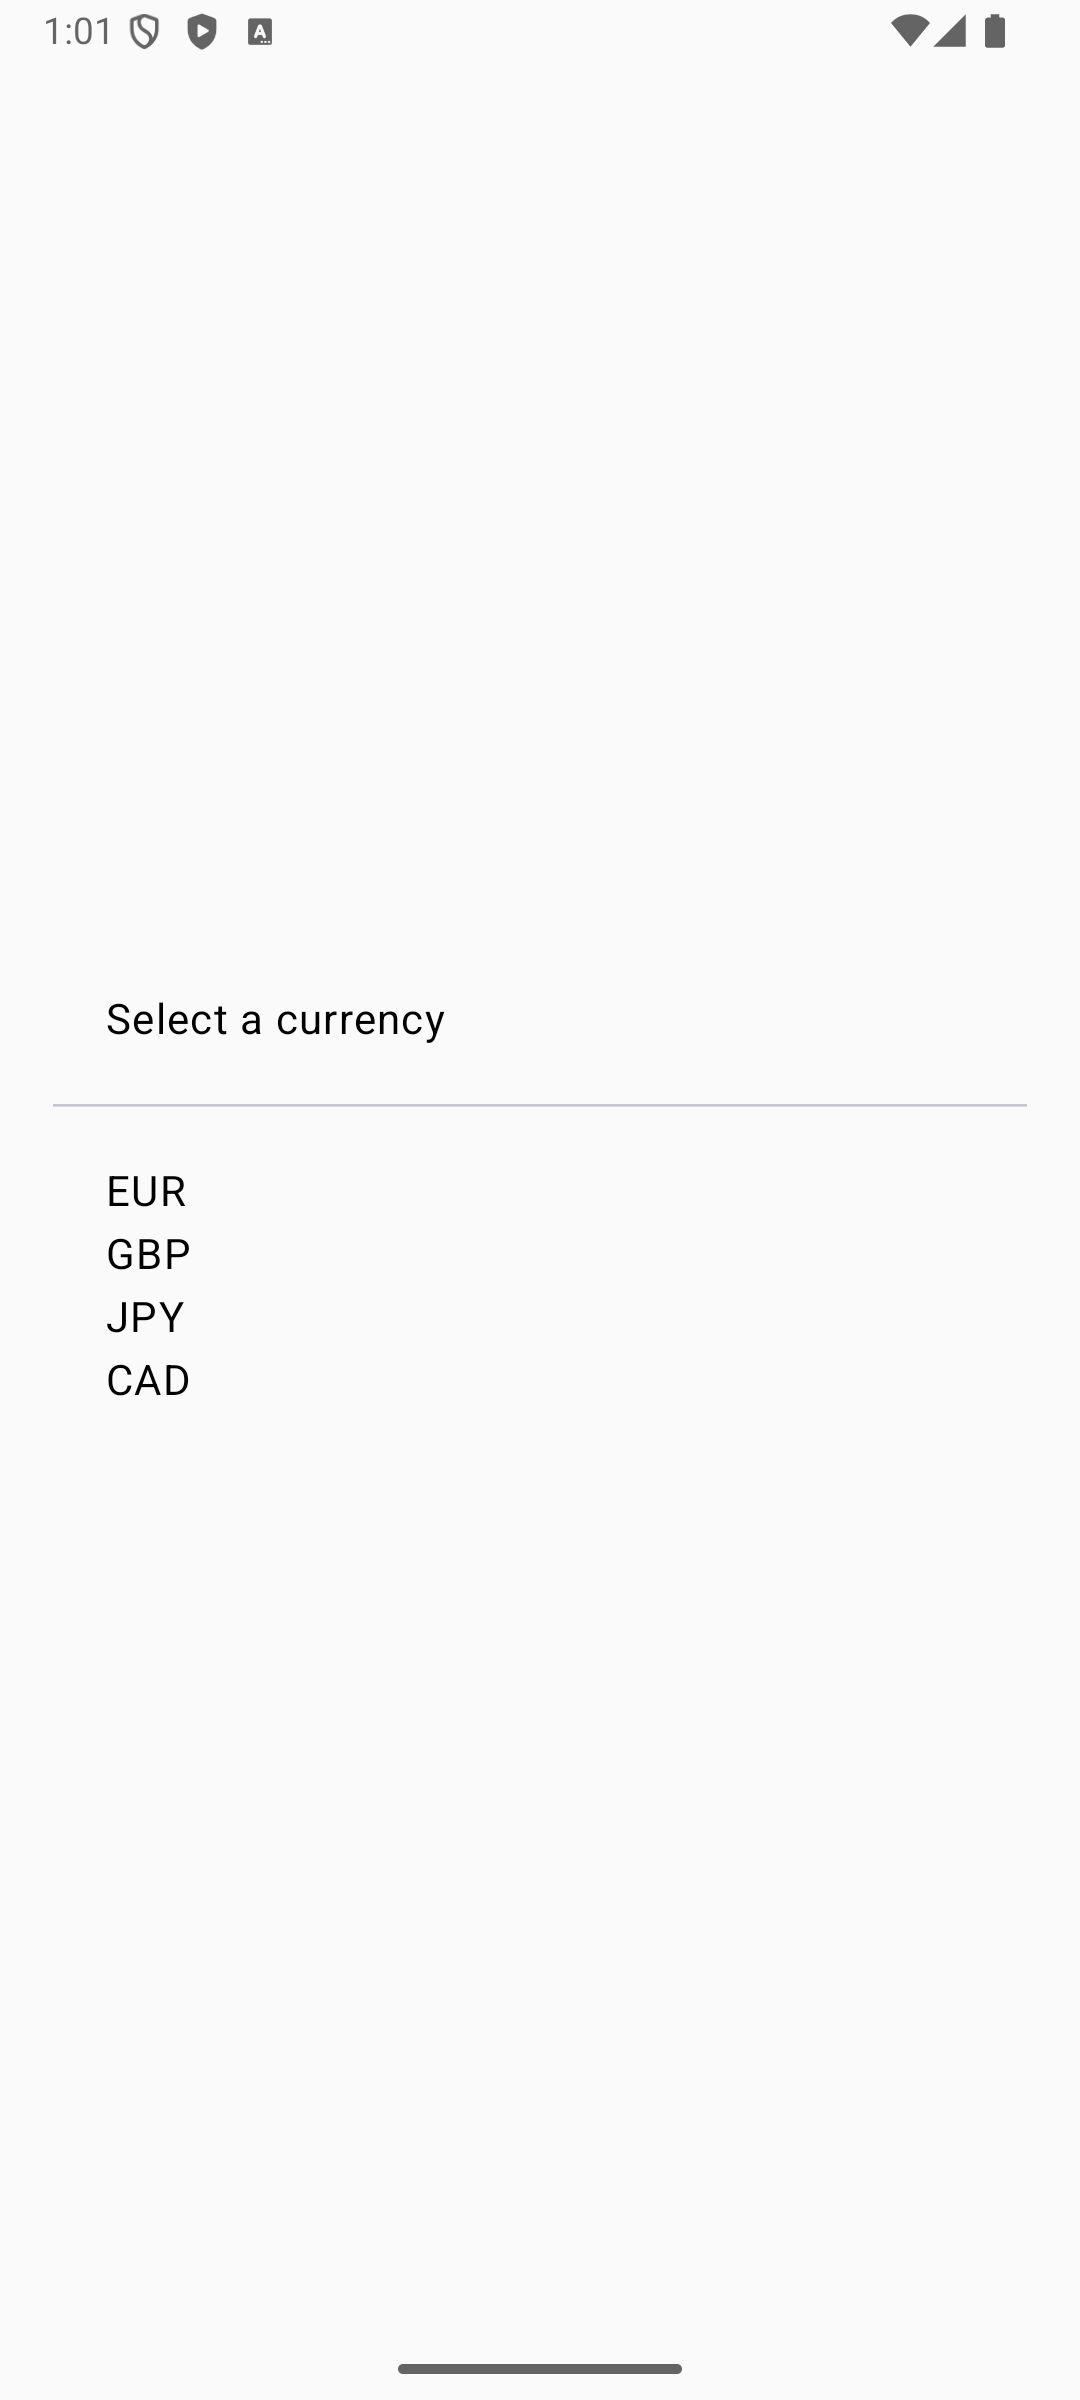
The second view displays a list of currencies for the user to select from.
Setting up separate screens and navigating between them
Since this is our first Jetpack Compose app that features multiple screens, I need to start by laying out a strategy for structuring the app. Here are the key features of this app's architecture.
- One of our composable functions is the
CurrencyApp()composable. This represents the app as a whole and sets up the navigation structure needed to move between the two screens. - The first screen is set up by the
CalculatorScreen()composable. - Since the calculator screen features a top bar that we will be using to help with navigation, the
CalculatorScreen()consists of aScaffold()with a top bar included. The primary content of the Scaffold is aCalculator()composable that implements the actual calculator. - The second screen is set up by the
CurrenciesScreen()composable.
The first component we will examine in detail is the CurrencyApp(). Here is the code for that component:
@Composable
fun CurrencyApp(modifier : Modifier) {
    val navController = rememberNavController()
    NavHost(navController,startDestination="calculator/EUR") {
        composable(route="calculator/{code}",
            arguments = listOf(navArgument("code") {
                type = NavType.StringType
            })) { navStackEntry ->
            val code = navStackEntry.arguments?.getString("code")
            CalculatorScreen(code?:"EUR",toOptions = { navController.navigate("currencies")}, modifier = modifier)
        }
        composable(route="currencies") {
            CurrenciesScreen({code : String -> navController.navigate("calculator/$code")}, modifier = modifier)
        }
    }
}
The primary purpose of this component is to set up the navigation infrastructure for our app. We do this by getting access to a NavController() and then using that NavController to set up a NavHost() component. A NavHost() is essentially a container for a set of routes. Each route consists of a routing URL and a trailing lambda expression that sets up the component that will be displayed in that route.
An interesting feature of the navigation system that this example demonstrates is the use of parameterized routes. Routes that map us to a particular screen are essentially URLs, and one feature those URLs are allowed to have is parameters embedded in the URL. You can see that in the example above in the route that takes us to the calculator screen. When we set up the calculator we need to tell it what currency it should work with. We do this by first embedding the name of the currency we want into the route URL. For example, if we want a calculator that converts dollars to Euros, we will use a route URL that looks like "calculator/EUR".
When we use the navigation system to navigate to a particular route, the system will create an object called a NavStackEntry and push onto the top of the navigation stack. We can query that NavStackEntry for details of the route, including any arguments that are embedded in the route URL. Once we have that argument extracted from the URL we can pass it along to the CalculatorScreen() component to tell it what currency to use. Here is the portion of the code that is responsible for setting up the route, managing the parameter embedded in the route, and then ultimately creating the CalculatorScreen():
composable(route="calculator/{code}",
           arguments = listOf(navArgument("code") {
           type = NavType.StringType
})) { navStackEntry ->
      val code = navStackEntry.arguments?.getString("code")
      CalculatorScreen(code?:"EUR",
          toOptions = {navController.navigate("currencies")},
          modifier = modifier)
}
The other route we set up here is a simpler kind of route that consists of a simple route URL without parameters and some straightforward code to set up the screen associated with that route:
composable(route="currencies") {
    CurrenciesScreen({code : String -> navController.navigate("calculator/$code")},
        modifier = modifier)
}
One final feature to make note of here is the startDestination parameter in the call that sets up the NavHost. This is a routing URL that tells the system which route to go to when the app starts up. In this case, we want the first screen displayed to be the currency calculator set to work with Euros.
The CurrenciesScreen component
The simpler of the two screens in this application is the CurrenciesScreen(). This component is designed to display a list of currencies for the user the pick from.
@Composable
fun CurrenciesScreen(onClick : (String)->Unit, modifier : Modifier) {
    Column(verticalArrangement = Arrangement.Center,modifier = modifier.padding(20.dp)) {
        Row(horizontalArrangement = Arrangement.Center, modifier = Modifier.padding(20.dp)) {
            Text("Select a currency")
        }
        HorizontalDivider()
        Column(verticalArrangement = Arrangement.Center, modifier = Modifier.padding(20.dp)) {
            rates.keys.forEach { code ->
                CurrencyItem(code = code, onClick = onClick)
            }
        }
    }
}
Here are some things to note about this code:
- The list of currencies that this app works with is stored in a global variable,
rates.
val rates = mapOf("EUR" to 0.9829,"GBP" to 0.8397,"JPY" to 135.72,"CAD" to 1.3049)
ratesis a dictionary that maps currency codes to exchange rates. To get the list of currency codes from this dictionary we userates.keysto get a list of keys for the map, which is a list of currency code strings.- The last component in the currencies screen is a Column() that will display a list of currency codes for the user to pick from. In the trailing closure for the column component we use the forEach method of the list of currency codes to set up a CurrencyItem components for each of the currencies we want to display.
Here is the code for the CurrencyItem() component:
@Composable
fun CurrencyItem(code : String, onClick : (String)->Unit) {
    Text(text = code, modifier=Modifier.clickable { onClick(code) })
}
A CurrencyItem() is simply a Text() component that displays a currency code. A special feature I have added here is a modifier that makes the Text() component clickable. The callback function for the clickable modifier calls a function that gets passed in to the CurrencyItem as one of its parameters.
If you trace the code backward from the call that sets up the currency items, you will see that function in question gets set up all the way back in the CurrencyApp(). That function is defined as
{code : String -> navController.navigate("calculator/$code")}
What we have now is a system that watches for user clicks on the currency codes. When the user clicks on one of the those codes we trigger a call to the function above using the code the user clicked on. That function in turn tells the navController to leave the screen we are on and navigate to the route that will take us back to the calculator screen using the code the user just clicked on.
The CalculatorScreen component
Here now is the code for the component that sets up the calculator screen.
@OptIn(ExperimentalMaterial3Api::class)
@Composable
fun CalculatorScreen(code : String, toOptions: () -> Unit,modifier: Modifier) {
    Scaffold(topBar = {
        TopAppBar(
            title = {
                Text(
                    "Travel Money",
                )
            },
            actions = {
                IconButton(onClick = toOptions) {
                    Icon(
                        imageVector = Icons.Default.Settings,
                        contentDescription = "Settings"
                    )
                }
            },
        )
    },
        modifier = Modifier.fillMaxSize())
    { innerPadding ->
        Calculator(code,modifier.padding(innerPadding))
    }
}
The most important thing to note about this component is that it does not set up the calculator directly. Instead, the first thing this component does is to set up a Scaffold() that includes a top bar. Top and bottom bars are common features in apps that need to do navigation between multiple screens. Typically these bars contain icons that the user can click on to navigate to different screens in the app. In this example the Scaffold has a top bar that includes a text title and a single action implemented via an IconButton(). Clicking on the IconButton triggers a call to the toOptions function that got passed into the CalculatorScreen as a parameter. If you trace the code back you will see that the function we pass in to that parameter is this:
{navController.navigate("currencies")}
Thus, when the user clicks on the icon in the top bar the app will navigate to the route that displays the list of currencies.
The last thing going on in the CalculatorScreen() component is the body closure for the Scaffold: that closure sets up the main content of the Scaffold, which is a Calculator() component. Here now is the code for that component.
@Composable
fun Calculator(code : String,modifier : Modifier) {
    val focusManager = LocalFocusManager.current
    val amount = remember { mutableStateOf("100") }
    val converted = remember { mutableStateOf("%.2f".format(rates[code]!!*100))}
    fun convert() : Unit {
        val dollarAmount = amount.value.toDoubleOrNull()
        if(dollarAmount == null) {
            converted.value = "unknown"
        } else {
            val exchangeAmount = rates[code]!!*dollarAmount!!
            converted.value = "%.2f".format(exchangeAmount)
        }
    }

    Column(horizontalAlignment = Alignment.CenterHorizontally, modifier = modifier.fillMaxSize()) {
        Row(horizontalArrangement = Arrangement.Start, verticalAlignment = Alignment.Bottom) {
            TextField(value = amount.value,
                onValueChange = {newValue : String -> amount.value = newValue},
                keyboardOptions = KeyboardOptions(imeAction = ImeAction.Done),
                keyboardActions = KeyboardActions(
                    onDone = { focusManager.clearFocus() }))
            Spacer(modifier=Modifier.width(10.dp))
            Text("USD")
        }
        Spacer(modifier=Modifier.height(20.dp))
        Row() {
            Button(onClick = {convert()}) {
                Text("Convert")
            }
        }
        Spacer(modifier=Modifier.height(20.dp))
        Row() {
            Text(converted.value)
            Text(code)
        }

    }
}
This code is pretty straightforward code for a currency conversion calculator. There are two important state variables here, amount and converted. amount is an amount in dollars that the user will be entering into a text field. To do a currency conversion the user will click a "Convert" button. The callback for that button invokes the local convert() function which converts the value in amount into the other currency and stores that result in the converted state variable.