The graph drawing program
Over the next couple of lectures I am going walk you through the construction of a fairly complex app. The GraphPad app is an app designed for tablets that implements a drawing program for graphs.
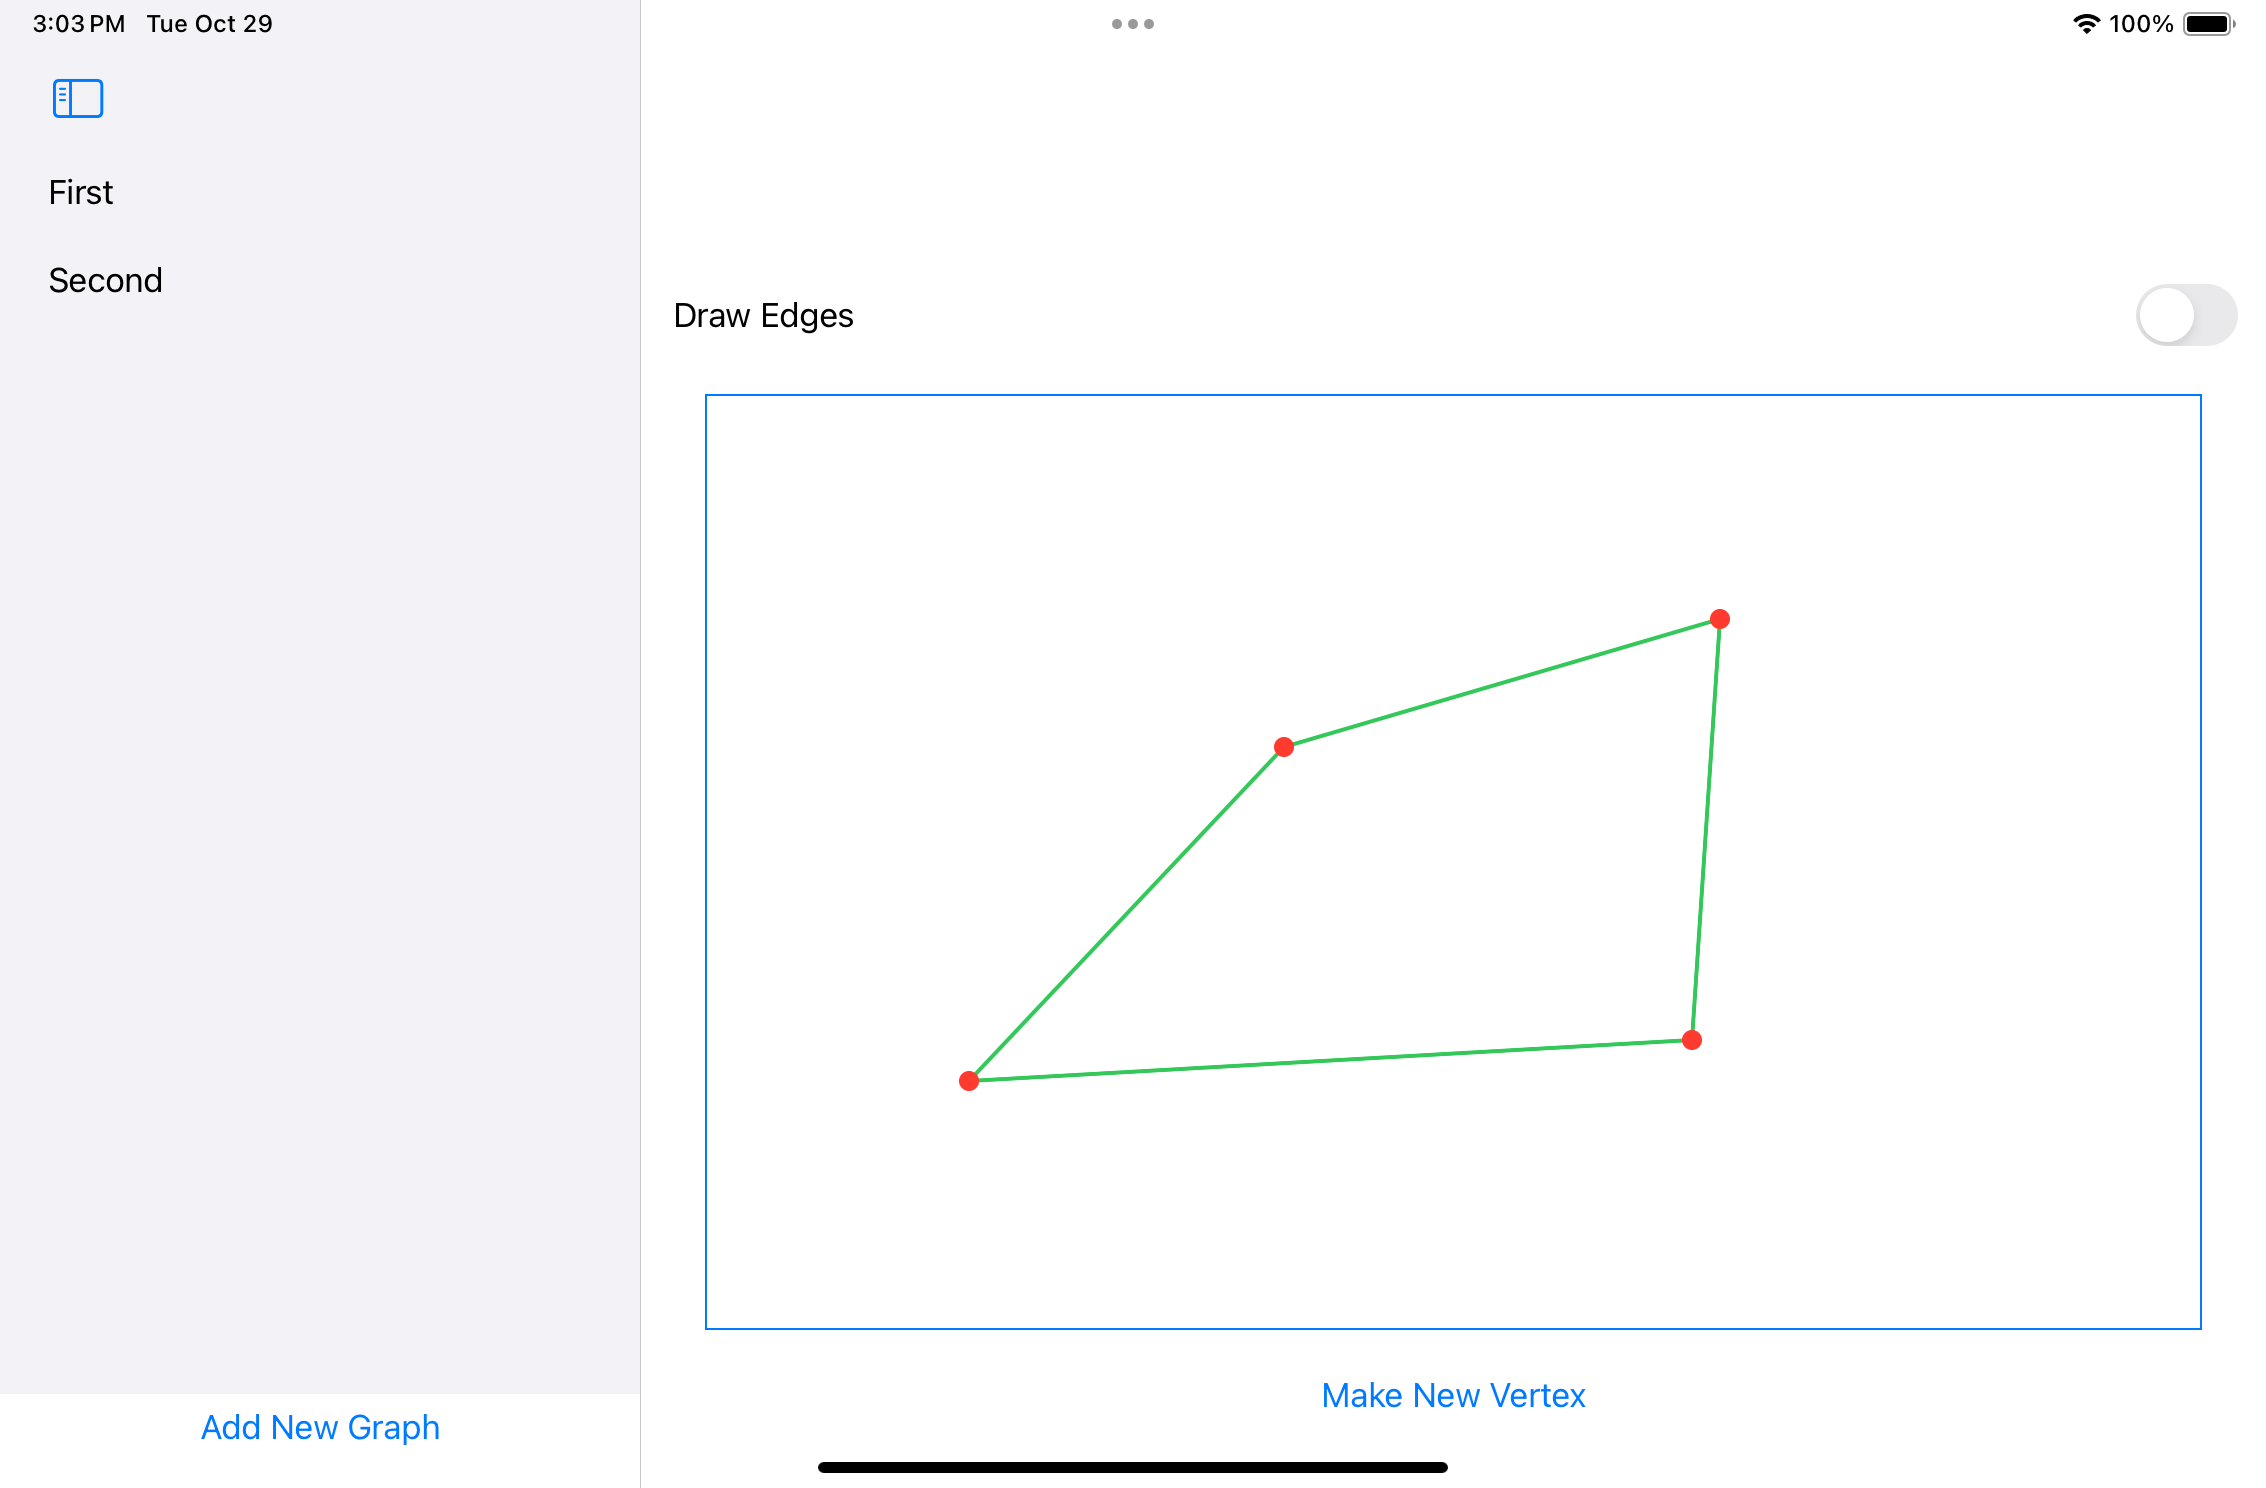
There is a lot going on in this example, so I have broken the lecture notes for this example into two parts. In this first lecture I am going to walk you through the construction of an initial prototype app that has only a subset of the features of the final app.
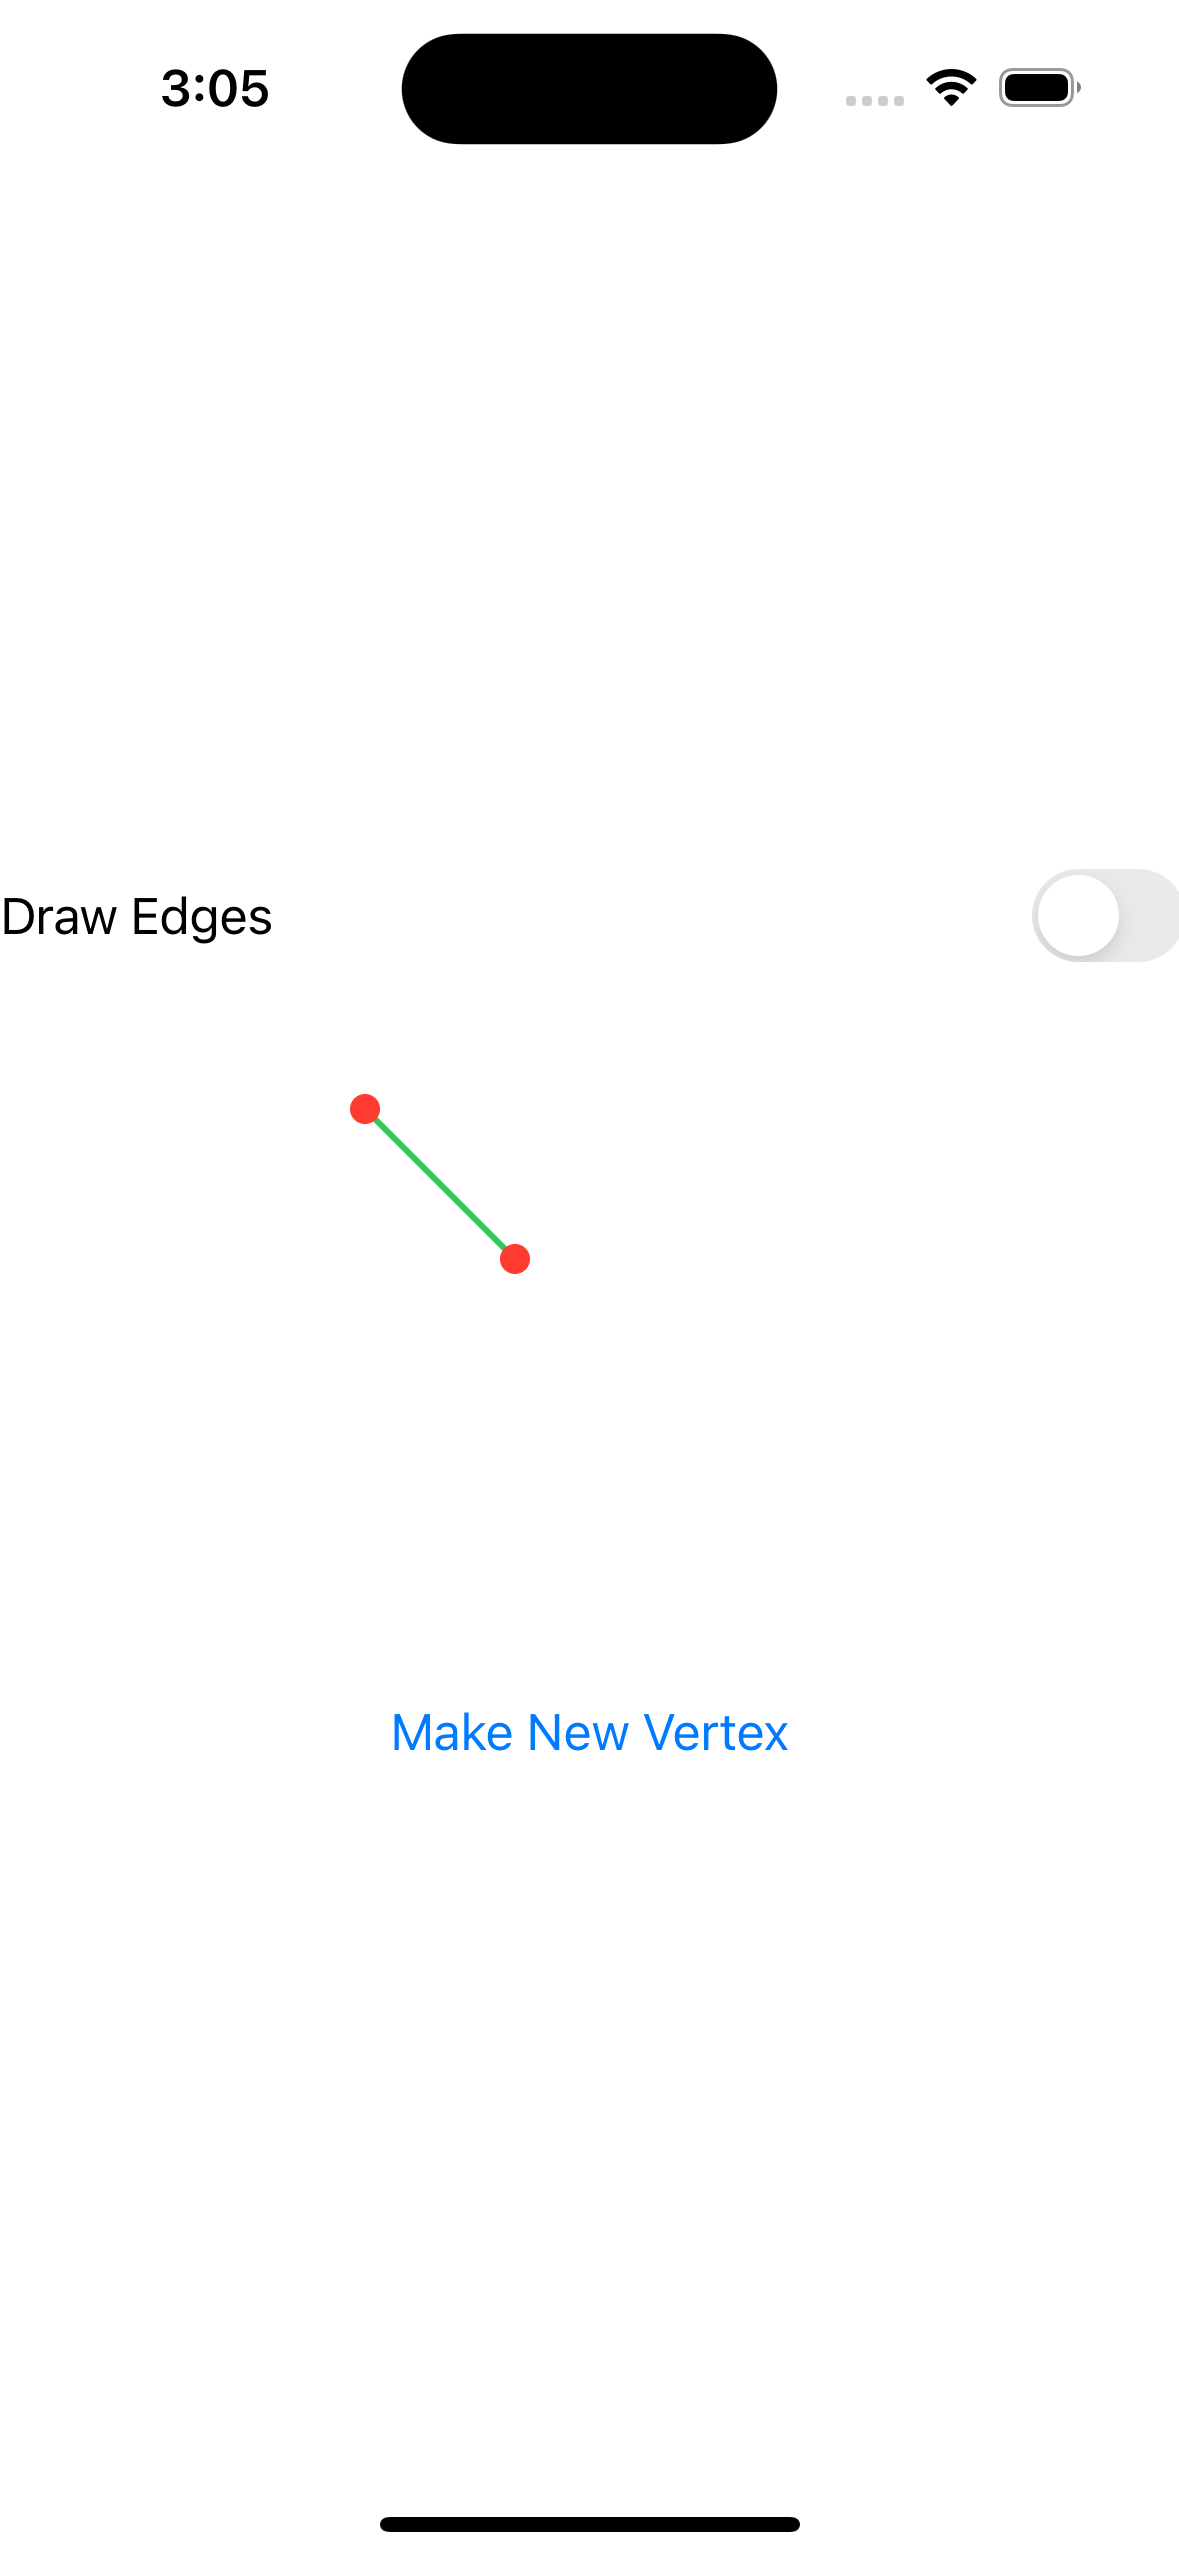
One of the most important features of both apps will be the use of the SwiftUI Canvas() element. This element makes it possible for us to create custom components that draw their own user interface and respond to user events such as taps and drags. The graph drawing component in these examples will be a custom Canvas() component.
Basics of the Canvas component
Here is some example code to demonstrate the use of a Canvas component to draw some simple shapes.
struct ContentView: View {
    var body: some View {
        Canvas { context, size in
            let d = CGFloat(5.0)
            let x1 = CGFloat(25.0)
            let x2 = CGFloat(75.0)
            let circle1 = Path(ellipseIn: CGRect(x: x1, y: x1, width: d, height: d))
            let circle2 = Path(ellipseIn: CGRect(x: x2, y: x2, width: d, height: d))
            let edge = Path() { path in
                path.move(to: CGPoint(x:x1+d/2,y:x1+d/2))
                path.addLine(to: CGPoint(x:x2+d/2,y:x2+d/2))
            }
            context.stroke(edge,with:.color(.green),lineWidth:2)
            context.fill(circle1,with: .color(.red))
            context.fill(circle2,with: .color(.red))
        }
        .frame(width:200,height:200)
        .padding()
    }
}
The closure in the body of the Canvas element is where we place drawing code to draw anything we want to draw. The body closure takes two parameters, a GraphicsContext object, context, and a CGSize object, size that tells us the size of the canvas's drawing surface. To draw in the Canvas we call various drawing methods provided by the GraphicsContext. In this example we are drawing two red circles connected by a green line. To draw these shapes we start by constructing Path objects that represent the shapes, and then pass them to the appropriate drawing methods in the GraphicsContext. There are two key drawing methods: stroke() and fill(). stroke() draws an outline around a shape, while fill() fills the shape with a color.
The GraphicsContext class uses its own set of data structures to describe shapes. In this example we use the CGFloat, CGPoint, and CGRect classes to describe various geometric quantities. The coordinate system used for the drawing geometry uses a coordinate system with the origin in the top left corner of the canvas. In this drawing system the positive x axis points to the right and the positive y axis points down from the origin point.
Much more information about the GraphicsContext class is available in the official documentation.
Making our own drawing objects
Since our eventual goal is to construct a component that allows users to create their own graphs we will want to move away from having fixed drawing code in our Canvas. Instead, we will construct an app in which users can create their own shape objects and have the Canvas draw whatever shapes the user wants.
The first step in doing this is to define our own set of shape objects:
import Foundation
import SwiftUI

class Vertex {
    var center : CGPoint
    let radius = CGFloat(5)
    var offset : CGSize = .zero

    init(center: CGPoint) {
        self.center = center
    }

    func getCenter() -> CGPoint {
        return CGPoint(x:center.x + offset.width,y:center.y + offset.height)
    }

    func drawIn(_ context: GraphicsContext) {
        let circle = Path(ellipseIn: CGRect(x: center.x + offset.width - radius, y: center.y + offset.height - radius, width: 2 * radius, height: 2 * radius))
        context.fill(circle,with: .color(.red))
    }

    func containsPoint(_ pt : CGPoint) -> Bool {
        let deltaX = (center.x - pt.x)
        let deltaY = (center.y - pt.y)
        let distSquared = deltaX*deltaX + deltaY*deltaY
        if distSquared < radius*radius {
            return true
        } else {
            return false
        }
    }

    func setOffset(_ offset : CGSize) {
        self.offset = offset
    }

    func endDrag() {
        center.x += offset.width
        center.y += offset.height
        offset = .zero
    }
}

class Edge {
    var origin : Vertex
    var dest : Vertex

    init(origin: Vertex, dest: Vertex) {
        self.origin = origin
        self.dest = dest
    }

    func drawIn(_ context: GraphicsContext) {
        let edge = Path() { path in
            path.move(to: origin.getCenter())
            path.addLine(to: dest.getCenter())
        }
        context.stroke(edge,with:.color(.green),lineWidth:2)
    }
}
The most important thing to notice about these objects is that they contain drawing methods that will enable the objects to draw themselves given a GraphicsContext to work with.
The shapes that we create will be stored in a model class:
import Foundation
import SwiftUI

class GraphModel : ObservableObject {
    @Published var vertices : [Vertex]
    @Published var edges : [Edge]
    @Published var dragging : Vertex?
    @Published var started : Bool = false

    init() {
        vertices = []
        let x1 = CGFloat(25.0)
        let x2 = CGFloat(75.0)
        let v1 = Vertex(center: CGPoint(x:x1,y:x1))
        let v2 = Vertex(center: CGPoint(x:x2,y:x2))
        vertices = [v1,v2]
        let edge = Edge(origin: v1, dest: v2)
        edges = [edge]
    }

    func makeVertex(_ center : CGPoint) {
        let v = Vertex(center: center)
        vertices.append(v)
    }

    func startDrag(_ pt : CGPoint) {
        started = true
        for v in vertices {
            if v.containsPoint(pt) {
                dragging = v
            }
        }
    }

    func continueDrag(_ offset : CGSize) {
        if let s = dragging {
            s.setOffset(offset)
        }
    }

    func endDrag() {
        if let s = dragging {
            s.endDrag()
        }
        dragging = nil
        started = false
    }

    func endDraw(_ pt : CGPoint) {
        for v in vertices {
            if v.containsPoint(pt) && (v !== dragging) {
                let newEdge = Edge(origin:dragging!,dest:v)
                edges.append(newEdge)
                break
            }
        }
    }
}
Note the two published properties vertices and edges: these lists store the objects we are going to be drawing.
Users will create these objects by tapping and dragging in the Canvas component. Most of the code that you see in the shape classes and the GraphModel class supports these user interactions. In the next section I will explain in detail how interactive drawing in the Canvas will work.
Handling dragging events
The user will be using our Canvas component to draw graphs with vertices and edges in them. Here are some of the user interactions our Canvas will need to support:
- Users will be able to create new vertices by clicking a button below the canvas. This will place a new vertex in the picture at a default start location.
- Users can drag vertices around in the Canvas to reposition them.
- Users can also use dragging interactions to draw edges that connect vertices. To do this, the user will switch the app to edge drawing mode and then drag from one vertex to another to construct an edge.
To enable all of these interactions we will attach a modifier to the Canvas that gives the Canvas the ability to respond to drag events. Here is the updated code for the component with this drag handling code included.
struct ContentView: View {
    @StateObject var graph : GraphModel = GraphModel()
    @State var dragLine : Path?
    @State var drawingEdge : Bool = false

    var gesture :  some Gesture {
        DragGesture()
            .onChanged( { value in
                if !graph.started {
                    graph.startDrag(value.startLocation)
                } else {
                    if !drawingEdge {
                        graph.continueDrag(value.translation)
                    }
                    dragLine = Path() { path in
                        path.move(to: value.startLocation)
                        path.addLine(to: value.location)
                    }
                }
            })
            .onEnded( { value in
                if drawingEdge {
                    graph.endDraw(value.location)
                } else {
                    graph.endDrag()
                }
                dragLine = nil
            })
    }

    var body: some View {
        VStack {
            Toggle("Draw Edges", isOn: $drawingEdge)
            Canvas { context, size in
                for e in graph.edges {
                    e.drawIn(context)
                }
                for v in graph.vertices {
                    v.drawIn(context)
                }
                if let dl = dragLine {
                    if drawingEdge {
                        context.stroke(dl,with:.color(.black),lineWidth:1)
                    }
                }
            }
            .gesture(
                gesture
            )
            .frame(width:200,height:200)
            .padding()
            Button("Make New Vertex") {
                graph.makeVertex(CGPoint(x:100,y:100))
            }
        }
    }
}
Drag events are a special type of gesture that SwiftUI components can respond to. We set our Canvas up to respond to gestures by attaching the .gesture() modifier to it. The body of this modifier should contain a gesture recognizer. Since gesture recognizers are typically fairly complex I used the approach here of defining the gesture recognizer as a separate property in the ContentView and then just passing it to the .gesture() modifier.
The specific gesture we are going to be responding to here is a DragGesture, which will respond to drag events. Here is some additional information about how drag gestures work:
- A drag gesture starts when the user presses their finger on the screen and moves their figure a certain minimum distance called the touch slop.
- As the user moves their finger across the screen the system will start firing drag change events periodically.
- When the user lifts their finger from the screen to end the drag the system will fire a drag end event.
In the code for the DragGesture we are setting up here you will see places where we set up callback functions to respond to drag change and drag end events. These callback functions take a single parameter, value, of type DragGesture.Value that carries in useful information. The value object has three important properties for us to pay attention to:
startLocationis a CGPoint object that tells us where the drag started.translationis a CGSize object that tells how far the user has moved since the last change event.locationis a CGPoint object that tells us where the user is now.
The logic that responds to drag events is a little complex. There are a couple of reasons for this. The first is that drags can mean different things at different times. In this app there are two modes that the Canvas can be in: a mode in which a user can drag to move vertices and a mode in which a user can drag to draw an edge. The drawingEdge state variable acts as a switch between these two modes. The second problem is that there is no such thing as a "drag started" event for us to respond to. Instead, we only get drag change events. If there is any logic that needs to run at the start of the drag we are left to manage that ourselves. To help manage this problem I added a state variable started in model class. When we receive a drag change event we first check the state of that variable: if it is false we call a method in the model that will start the dragging logic and then set the started variable to true.
Another thing we have to manage in drag events is visual feedback for the user. We need to give the user a visual indication that their drag request is actually doing something. To provide this feedback during dragging I added another state variable to our component, the dragLine variable. This variable stores a Path object that implements a line running from the start point of the drag to the current location. Each time we receive a drag change event we will replace the dragLine with a new Path that shows an updated line segment. Then, when we run the drawing code in the body of the Canvas we will add code there to draw the dragLine if it is present. Using the dragLine state variable has another important function: it gives us a state variable that will be updated during the dragging process. Changes to that state variable will trigger a recomposition of the component, which in turn will force the Canvas to redraw. Those Canvas redraws during dragging will ensure that the user gets immediate visual feedback in the midst of drags.