The SwiftUI currency converter example
Our next SwiftUI example is the currency conversion app. This is our first app with two views, so we will be looking at the mechanisms needed to navigate between views in an app. The first view displays a currency conversion calculator:
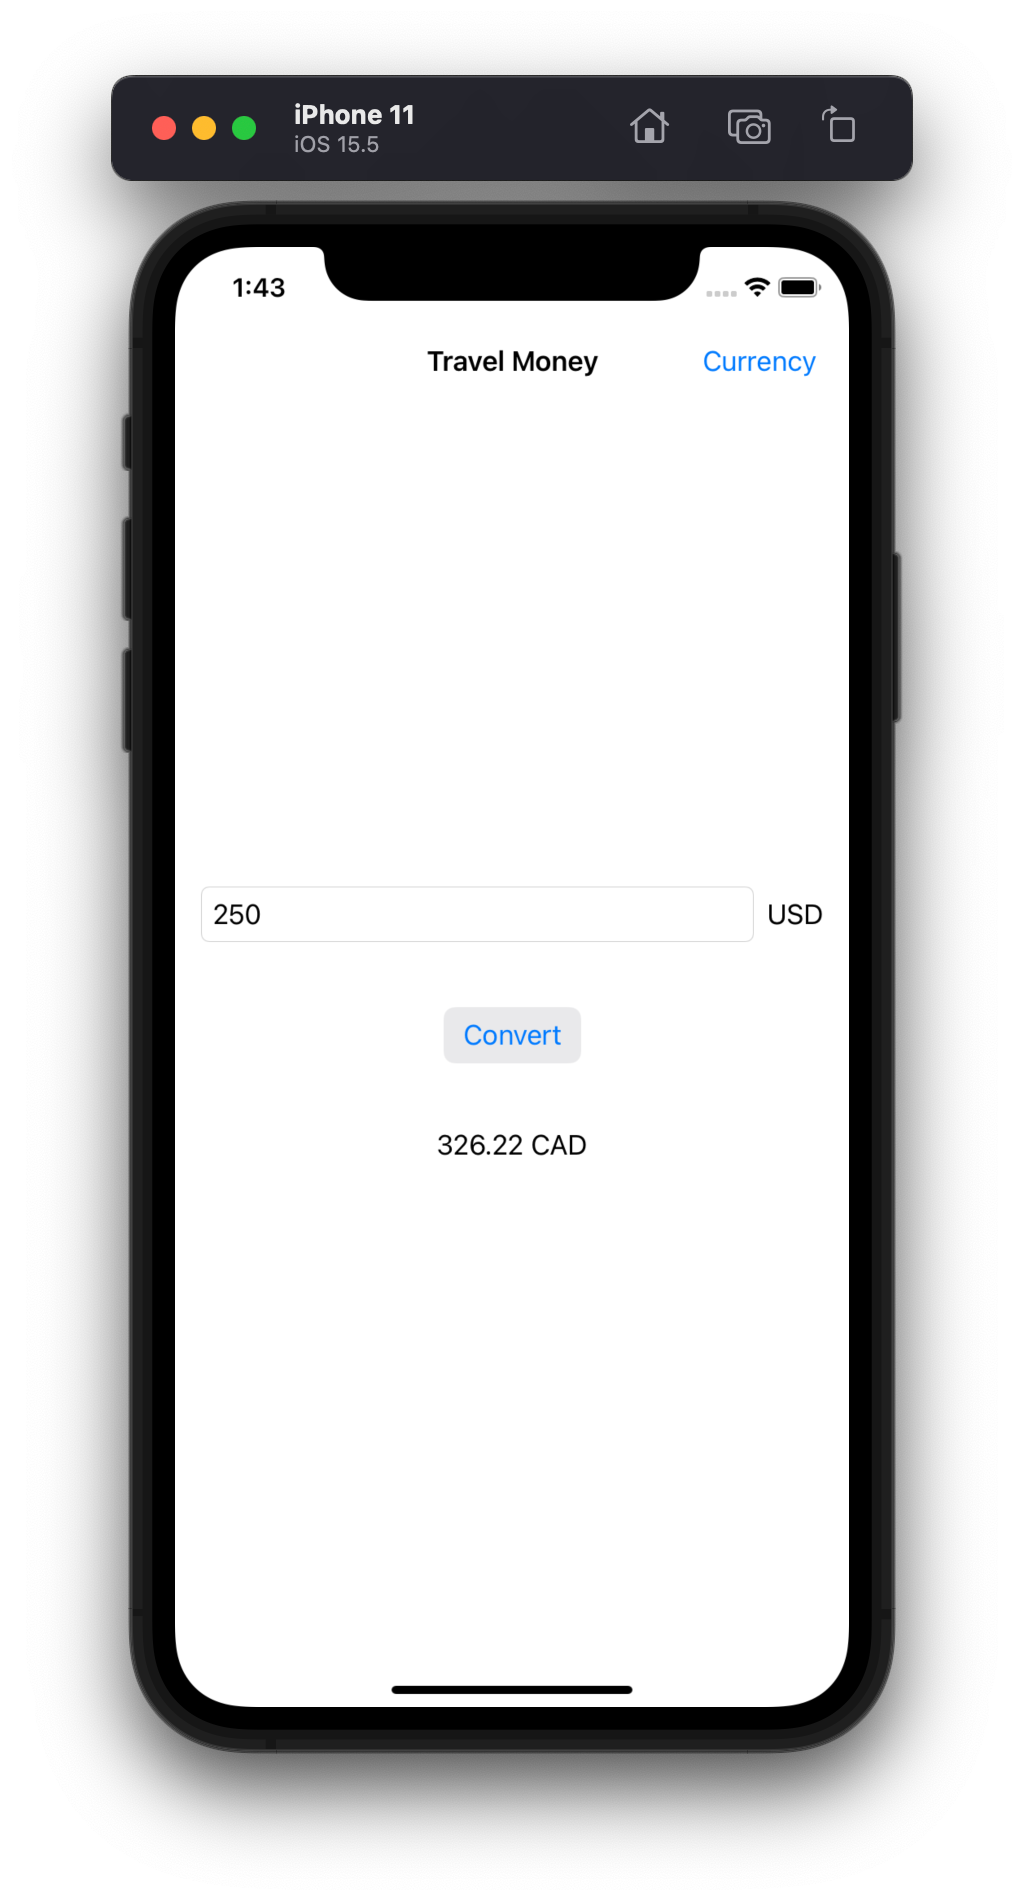
The second view displays a list of currencies for the user to select from.
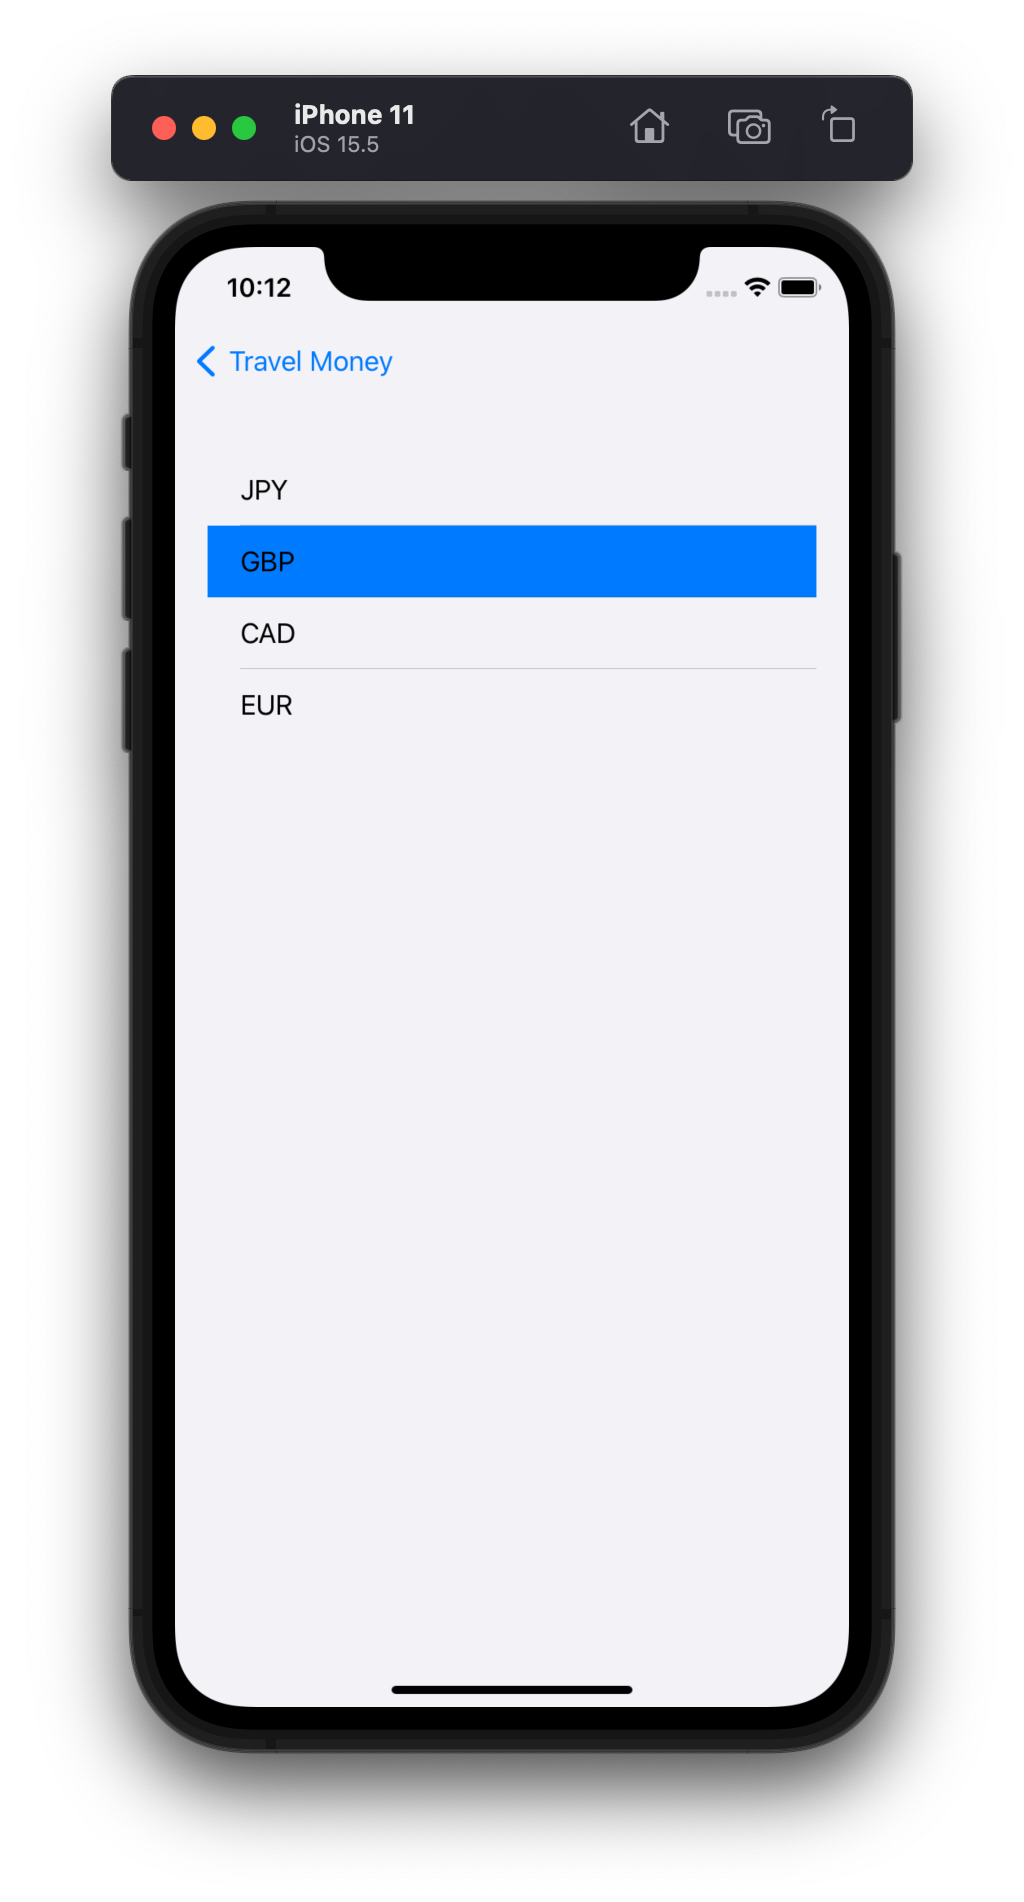
Displaying the list of currencies
The general rule in SwiftUI is that we make a separate View struct for each view in our app, and put each view's code in its own separate source code file. Here is the code in the CurrencyList.swift file:
import SwiftUI

struct CurrencyList : View {
    var currencies : [String]
    @Binding var selected : String

    var body : some View {
        List {
            ForEach(currencies,id: \.self) { currency in
                Text(currency).onTapGesture {
                    self.selected = currency
                }.listRowBackground(self.selected == currency ? Color.accentColor : Color(UIColor.systemGroupedBackground))
            }
        }
    }
}
Since we are going to be displaying a list of currency strings, we will need a currencies property that will store that list of strings. Here we are also going to need a second property that will store what currency the user has selected from the list. This property uses the @Binding property modifier to indicate that this property is actually a reference to a property that we are going to get from somewhere else. Specifically, this will be a reference to a property that comes over from the first view when we navigate to this second view.
To implement a list view in SwiftUI we use the List() component. The closure that we pass to that component's initializer uses the SwiftUI ForEach() construct to specify how to make a cell in the list view for each element of the data list the list is based on. The first parameter to the ForEach initializer is a list of data items that we want to iterate over: in this case the list of currency strings. The trailing closure that the ForEach uses is a closure that takes the data for a particular item as its parameter and constructs a view from it. In this case we make a text label that displays the currency string. We also equip the label with an onTapGesture() event handler that sets the currently selected currency when the user taps on the label.
The navigation controller and the first view
Here now is the code for the app's first view, which implements the calculator:
struct ContentView: View {
    @FocusState private var amountIsFocused: Bool
    @State var current : String
    @State private var amount : String = "0.00"
    @State private var convertedAmount : String = "0.00"
    let rates = ["EUR":0.9829,"GBP":0.8397,"JPY":135.72,"CAD":1.3049]
    var keys : Array<String> {
        return Array(rates.keys)
    }

    func convert() -> String {
        let dollars : Double = Double(amount) ?? 0.0
        let amt = dollars * (rates[current] ?? 0.0)
        return String(format: "%.2f",amt)
    }

    var body: some View {
        NavigationStack {
            VStack {
                HStack {
                    TextField("",text:$amount)
                        .keyboardType(.decimalPad)
                        .textFieldStyle(.roundedBorder)
                        .focused($amountIsFocused)
                    Text("USD")
                }.padding()
                Button("Convert") {
                    convertedAmount = convert()
                    amountIsFocused = false
                }.buttonStyle(.bordered).padding()
                Text("\(convertedAmount) \(current)").padding()
            }
            .onAppear() { convertedAmount = convert() }
            .navigationTitle("Travel Money")
            .navigationBarTitleDisplayMode(.inline)
            .navigationBarItems(
                  trailing: NavigationLink("Currency") {
                          CurrencyList(currencies:keys,selected:$current)
                     }
                  )
        }
    }
}
The most important new idea in this example is the use of navigation to display multiple views in the same app. To implement navigation between screens we will use a NavigationStack component. The view we construct here is a NavigationStack that contains the app's first view as its only content. That first view is implemented in the usual way as a VStack.
Note that we have to apply a series of modifiers to the view to set up all of its features, including the details of the navigation bar. The most important modifier here is navigationBarItems(), which is where we set up the NavigationLink that implements the navigation to the second view. NavigationLinks can actually appear anywhere in a view, and act very much like links in a web page. The most important aspect of the NavigationLink is its destination, which is a view that will be constructed and shown when the user clicks the navigation link. In this case, we want to navigate to the view that displays the list of currencies, so we set the destination as a new CurrencyList view. Note that the second parameter to the CurrencyList initializer is a reference to our own current property, which stores the currency code for the currency we are currently working with. When the second view changes that value it will automatically be updating our property, since the second view will be working with a reference to our property.
Another new type of event handler we see in this example is the use of the onAppear() modifier attached to the VStack that acts as the primary container for the first screen. This event handler will get invoked whenever this first screen reappears. The closure that I passed to that event handler recomputes the converted amount when we navigate back from the second view to the first. This is necessary because the user may have chosen a new currency to work with in the second screen, which in turn will force us to recompute the converted currency amount when we navigate back to the first screen.
Another way to dismiss the keyboard
In the previous example I showed a strategy for making the software keyboard disappear when it is no longer needed. This example demonstrates another strategy to do the same thing. This strategy is based on the use of a special state variables, the amountIsFocused Boolean. The first thing we do with this state variable is to pass a reference to it to the TextField via the TextField's focused() modifier. When the user clicks on the text field the field will receive the focus and the state variable will get set to true.
Further down in the code I have attached a closure to the "Convert" button. One of the things that closure does is to reset the amountIsFocused state variable back to false, which in turn causes the text field to lose its focus. That in turn will cause the keyboard associated with the text field to go away.